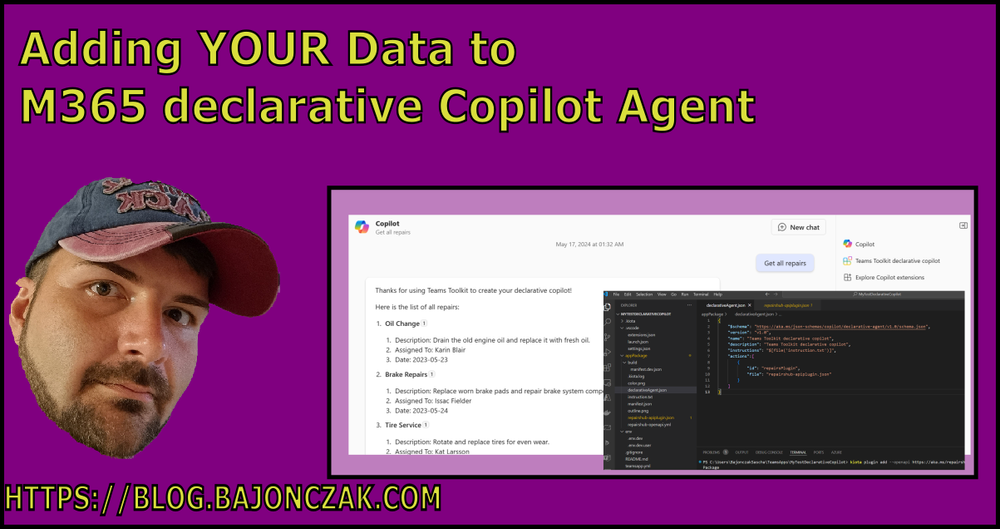
Adding YOUR Data to M365 declarative Copilot Agent
Yep, Copilot Wave 2 was already announced. The main takeaways are Copilot Pages, Python in Excel with scripts generated from Copilot, and, yes, declarative Copilot.
I will create a blog post about these new fancy features soon. For now, I will concentrate on the declarative copilot and how to add your custom data.
In my post on integrating custom data into Copilot, I must create a plugin with pro-code, but I can assure you that this is no longer necessary for simple solutions. Before we start, we need something done before we can dive into creating a declarative Copilot.
Prerequisites
First of all, the declarative copilot is in private preview. So, you must execute some PowerShell commands to enable the preview.
[Environment]::SetEnvironmentVariable("TEAMSFX_DECLARATIVE_COPILOT", 'true', "User")
[Environment]::SetEnvironmentVariable("KIOTA_CONFIG_PREVIEW", "true", "User")
$env:Path = [System.Environment]::GetEnvironmentVariable("Path","Machine") + ";" + [System.Environment]::GetEnvironmentVariable("Path","User")
Now, after that, you must install the required node package that will enable the teamsapp cli.
npm install -g @microsoft/teamsapp-cli
npx teamsapp -h
Then, you must install the Teams toolkit extension using Visual Studio code. Please pay attention to installing the preview version.
Finally you must install the kiota runtimes with
dotnet tool install --global Microsoft.OpenApi.KiotaNow you are ready to go! Let's create the declarative copilot.
Creating a declarative copilot
You can use the wizard to create a starting point for the scaffolded template.
Creating a declarative copilot
After that, you have the stater template loaded into the Visual Studio Code. In the folder appPackage you will see the file declarativeAgent.json with the following content:
{
    "$schema": "https://aka.ms/json-schemas/copilot/declarative-agent/v1.0/schema.json",
    "version": "v1.0",
    "name": "MyTestDeclarativeCopilot",
    "description": "Declarative agent created with Teams Toolkit",
    "instructions": "$[file('instruction.txt')]",
}
Now, you will be able to create the following:
- Conversation starters
- Add external "static" data
- Add Graph Connectors
- Add a custom plugin
I will focus only on adding the custom plugin
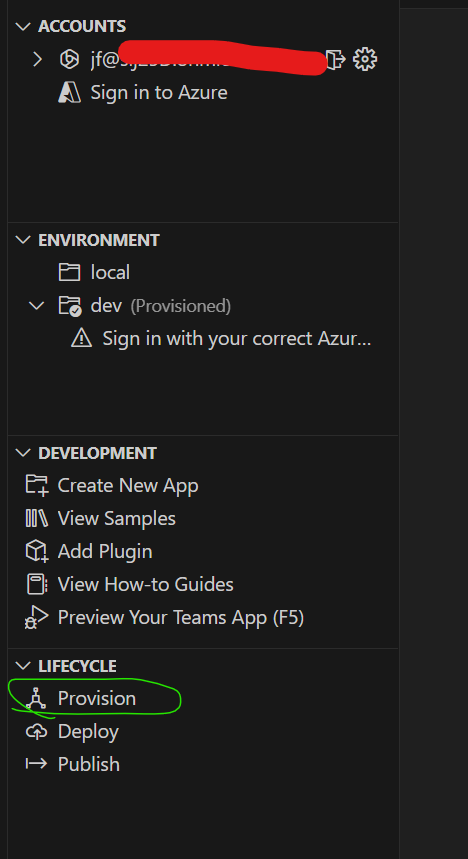
First, some points on to deploy these declarative copilots:
Deployment
I deploy the definition with the Teams Toolkit (Prerelease version). The only step is to provision the copilot within your tenant.
After that, you can open the copilot chat. You will see the chat drawer next to the "New Chat" button. There will be places where our extension.
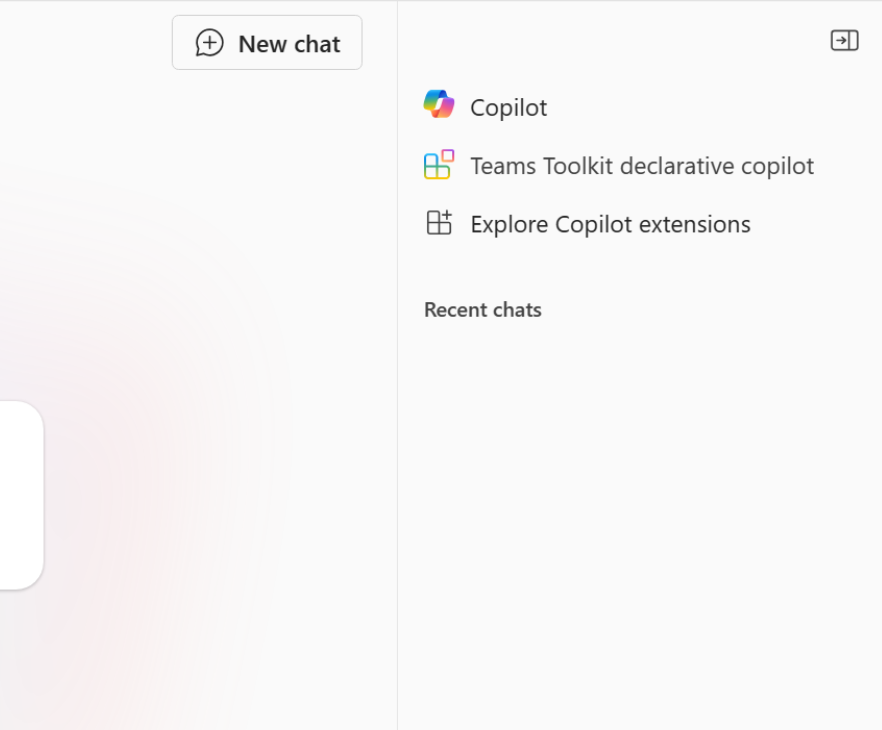
From here, you can select YOUR Copilot and work with it. Now, let's dive deep into adding your custom data as a data source.
Adding custom data
You must provide an open API definition to attach your data via a plugin. To keep it simple, I used the demo instance from Microsoft: https://aka.ms/repairshub/openapi.json . In this definition you will a definition to get information of repairs. To use this definition, you can use the installed tool kiota.
kiota plugin add --openapi https://aka.ms/repairshub/openapi.json --plugin-name "RepairsHub" --type apiplugin --output appPackageThis will produce the following output

You will notice two new files within the project folder.

The JSON is the downloaded copy of the server, and the "yml" File contains the YAML translated representation.
The final step is to add an action into the declarativeAgent.json - File to enable the endpoint as a datasource. The modified one looks like this:
{
    "$schema": "https://aka.ms/json-schemas/copilot/declarative-agent/v1.0/schema.json",
    "version": "v1.0",
    "name": "Teams Toolkit declarative copilot",
    "description": "Teams Toolkit declarative copilot",
    "instructions": "$[file('instruction.txt')]",
    "actions":[
        {
            "id": "repairsPlugin",
            "file": "repairshub-apiplugin.json"
        }
    ]
}
Modified JSON with custom plugin
Now, you can deploy and test the agent within the Chat Promt. I will try to get all reports from the endpoint. After a little bit of gathering time, you will be prompted with the results.
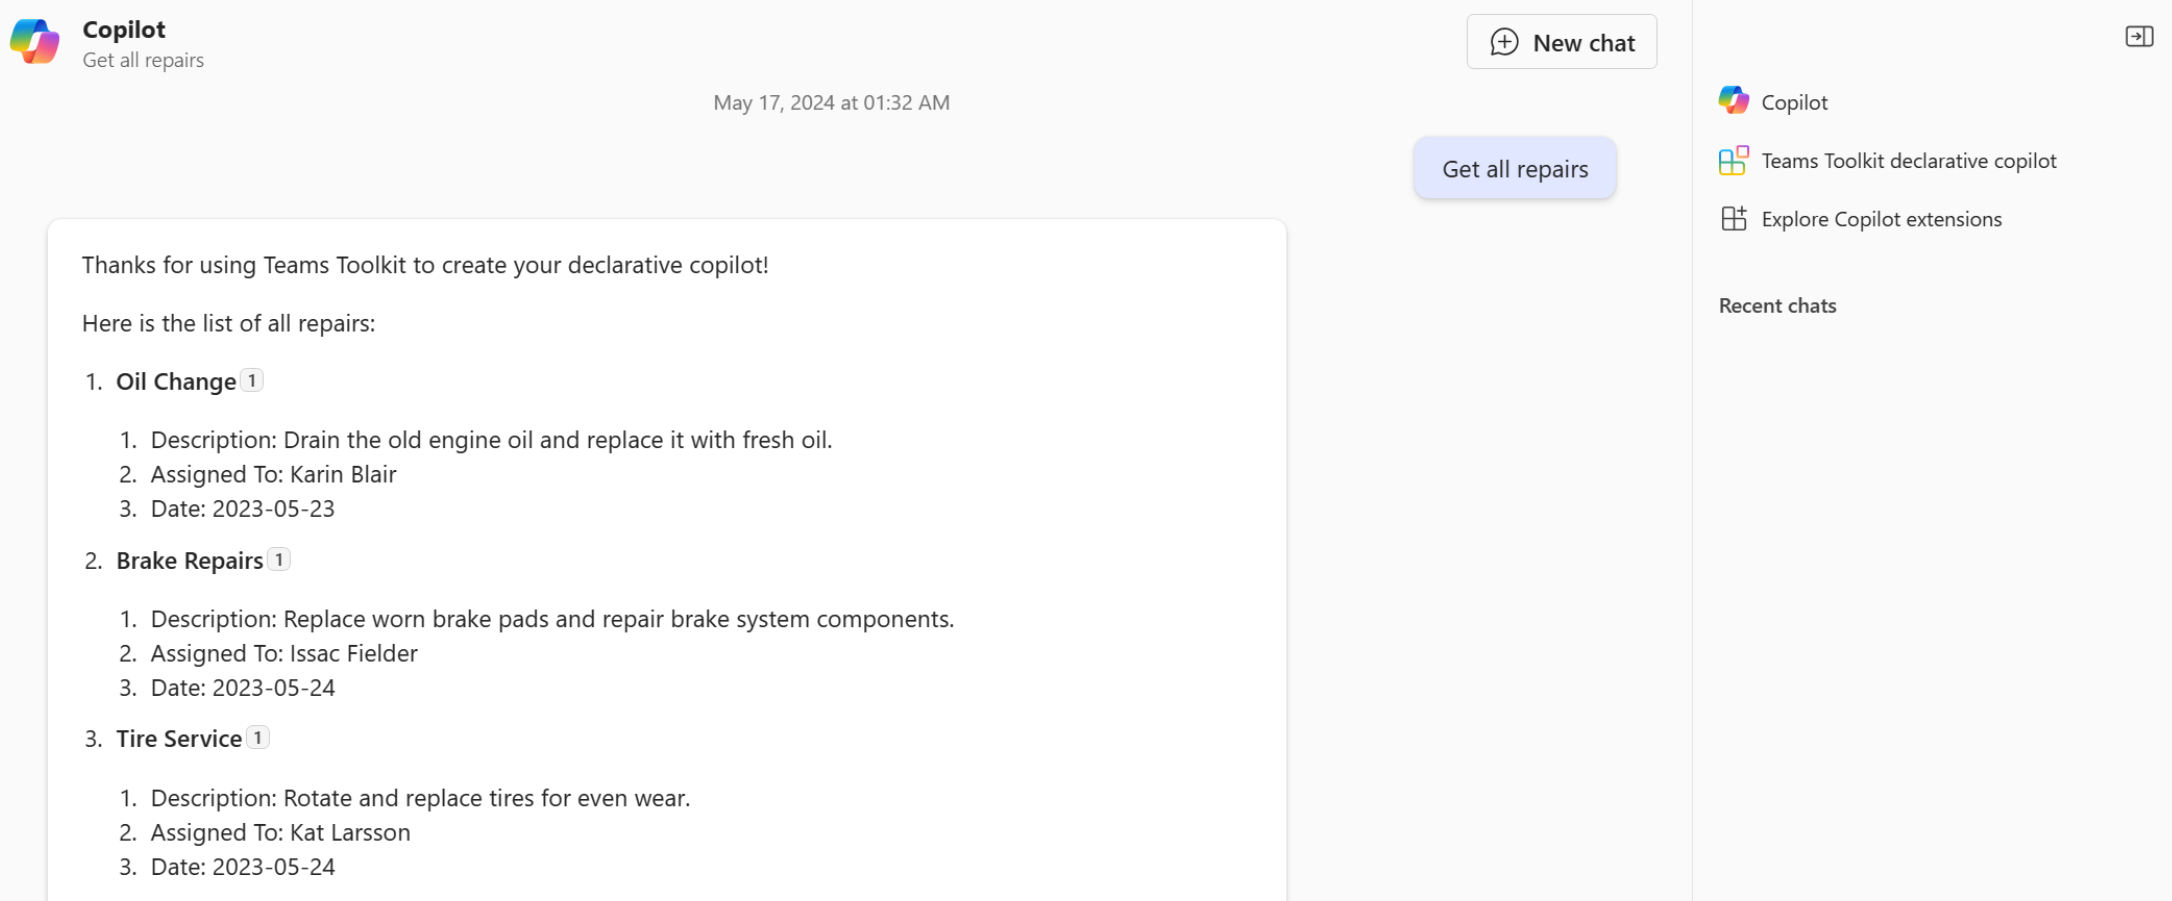
Done! That was quick!