Installing Grafana on Azure Webapps
Sure in Azure there is a Grafana managed service, which has several advantages like SSO and so on, but for small usages like monitoring one single system that does not have any financial outcome, there must be another solution used. So I decided to host a Grafana Setup onto a web app Server as a docker image. So that I can upgrade this like a SaaS application.
I take you with me on my journey to set up a Grafana instance with persistent storage.
Persistent store
First of all, we need a persistent store, for this, I recommend a Storrage account, you can take an existing one, but let's assume you haven't any. In This Storage account you must create a new Azure Fileshare
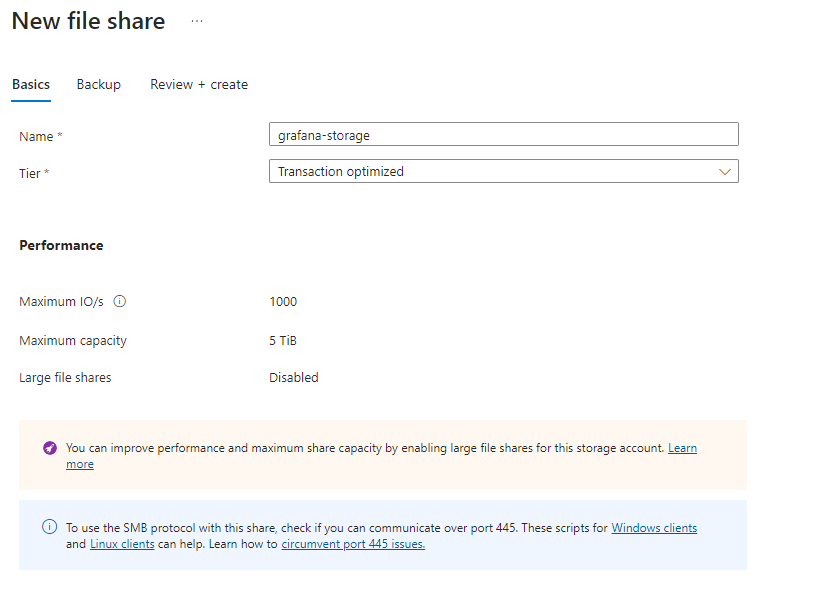
I called mine "grafana-storage". The Tier is not important take the cheapest one. Note the name of the file share.
Creating a Database
Take this as advice, do not let grafana create the Database. Because it will get read-only or get locked or other things. So preconfigure the database for yourself. Grafna hosts the data in a SQLite database, to create a new one you must install the SQLite command:
choco install sqliteNow you can create the database called grafana.db with journalmode set to wal.
sqlite3 grafana.db 'PRAGMA journal_mode=wal;'Now you can copy the grafana database to your Azure file share that we recently created
az login az storage copy -s .\grafana.db -d https://<storage_account>.file.core.windows.net/<file_share> --subscription <subscription_name>
This was the difficult part, the next step will be more easy.
Creating the web app
The next step is to create a web app that runs Linux, so keep attention to using a Linux app service. The Windows one will not work, because we must run a Linux container. After the creation of your web app, you configure the persistent storage
Mapping the file share
To map the persistent storage to the "external" storage account, you must add a new path mapping
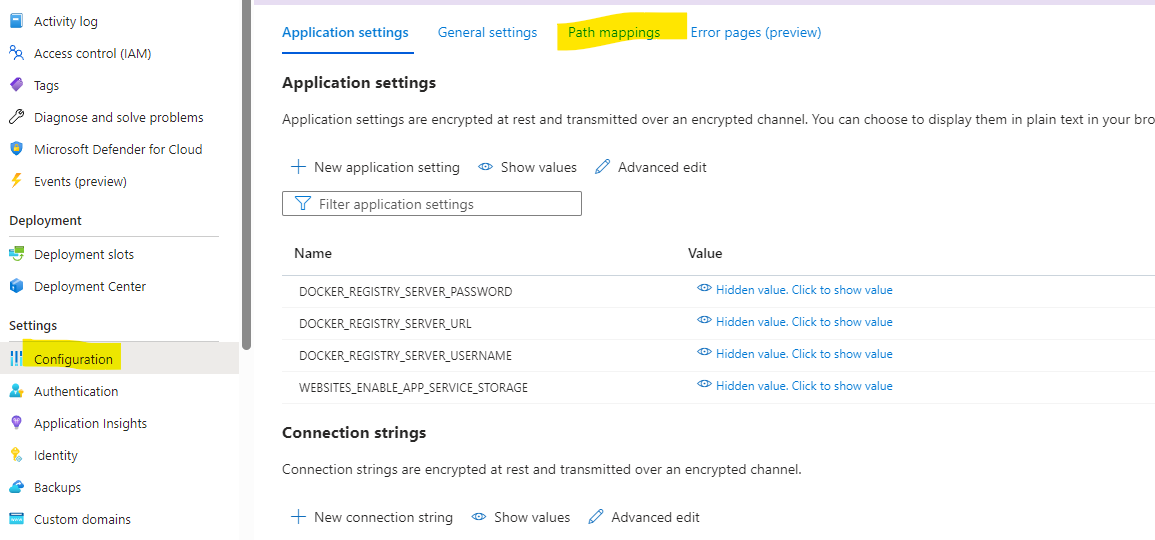
In this, you can create a new mount the points to your recently created fileshare.
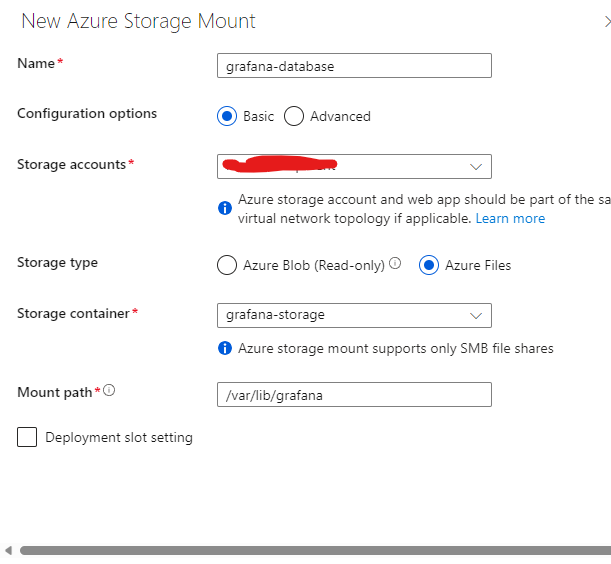
This will mount the recently created file share "grafana-storage" to the path /var/lib/grafana onto the server. So when you access the folder /var/lib/grafana in the webserver, you will access the storage account file share.
The next step before we set up the container itself is to configure the System to use the recently created database, located in the file share.
Set the Database connection
To use the database stored on the file share, you must create a new config entry.
Name: GF_DATABASE_URL
Value: sqlite3:///var/lib/grafana/grafana.db?cache=private&mode=rwc&_journal_mode=WAL
After you save it, you have the web app server give the configuration that will later be used in the docker container. The configuration Setting GF_DATABASE_URL contains the notation that Grafnaa itself will understand. So every Grafana setting will be prefixed with GF. In this, we set the database URL to tell Grafana that it must use this preconfigured database.
Install Grafana
Now the final step is to install Grafana, instead of copying and pasting the complete grafana source and so on, I use the official docker container. In the Deployment Center section, you will configure the web app like this
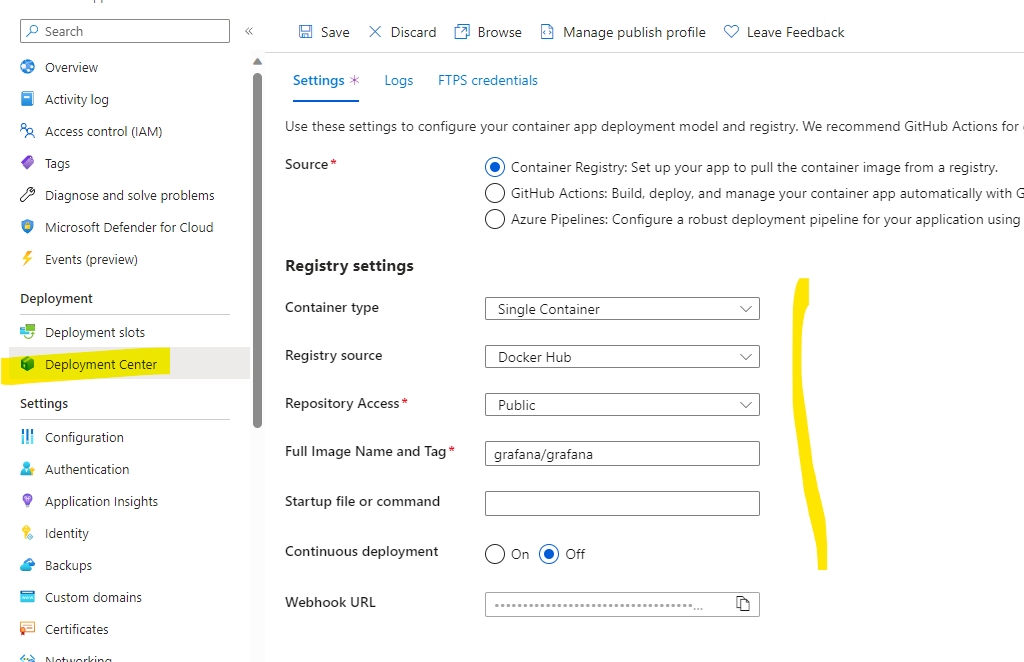
Apply this setting and take a coffee, because it will take some time to start the system up because it will fetch the docker image, extract it, and then it will be started. The web app also will mount the file share automatically and apply the given configuration.
Check result
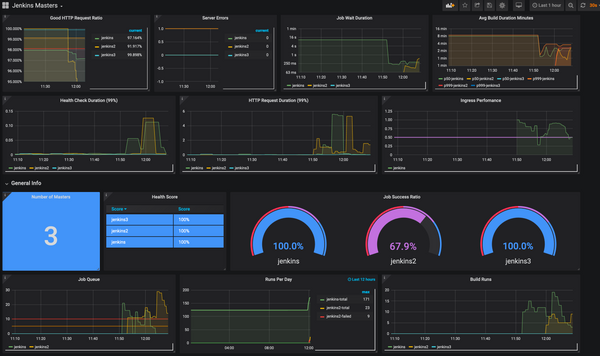
After a while, you will be prompted with a new grafana LoginNow the final part, the Check. So simply open the web address and you will be prompted with a new login page. So log in with the admin account (username: admin, password: admin) and you will get into the system.
Conclusion
In conclusion, this blog post offers a pragmatic guide for deploying Grafana on Azure Web Apps through containerization, catering specifically to scenarios where the managed Grafana service may be overkill due to minimal usage and no significant financial implications. The step-by-step journey outlined in the post navigates through crucial aspects such as establishing persistent storage, configuring a SQLite database, creating a Linux-based web app, and connecting Grafana to the preconfigured database.